
Tiles are a durable and stylish flooring and wall-covering option, but over time, they can become cracked, chipped, or loose due to everyday wear and tear, impact, or moisture exposure. Damaged tiles not only diminish the aesthetic appeal of your home but can also pose safety hazards. Knowing when and how to replace them ensures your home remains both attractive and functional. This guide will help you determine the right time to replace damaged tiles and walk you through the replacement process.
When to Replace Damaged Tiles
There are several signs that indicate it's time to replace your tiles:
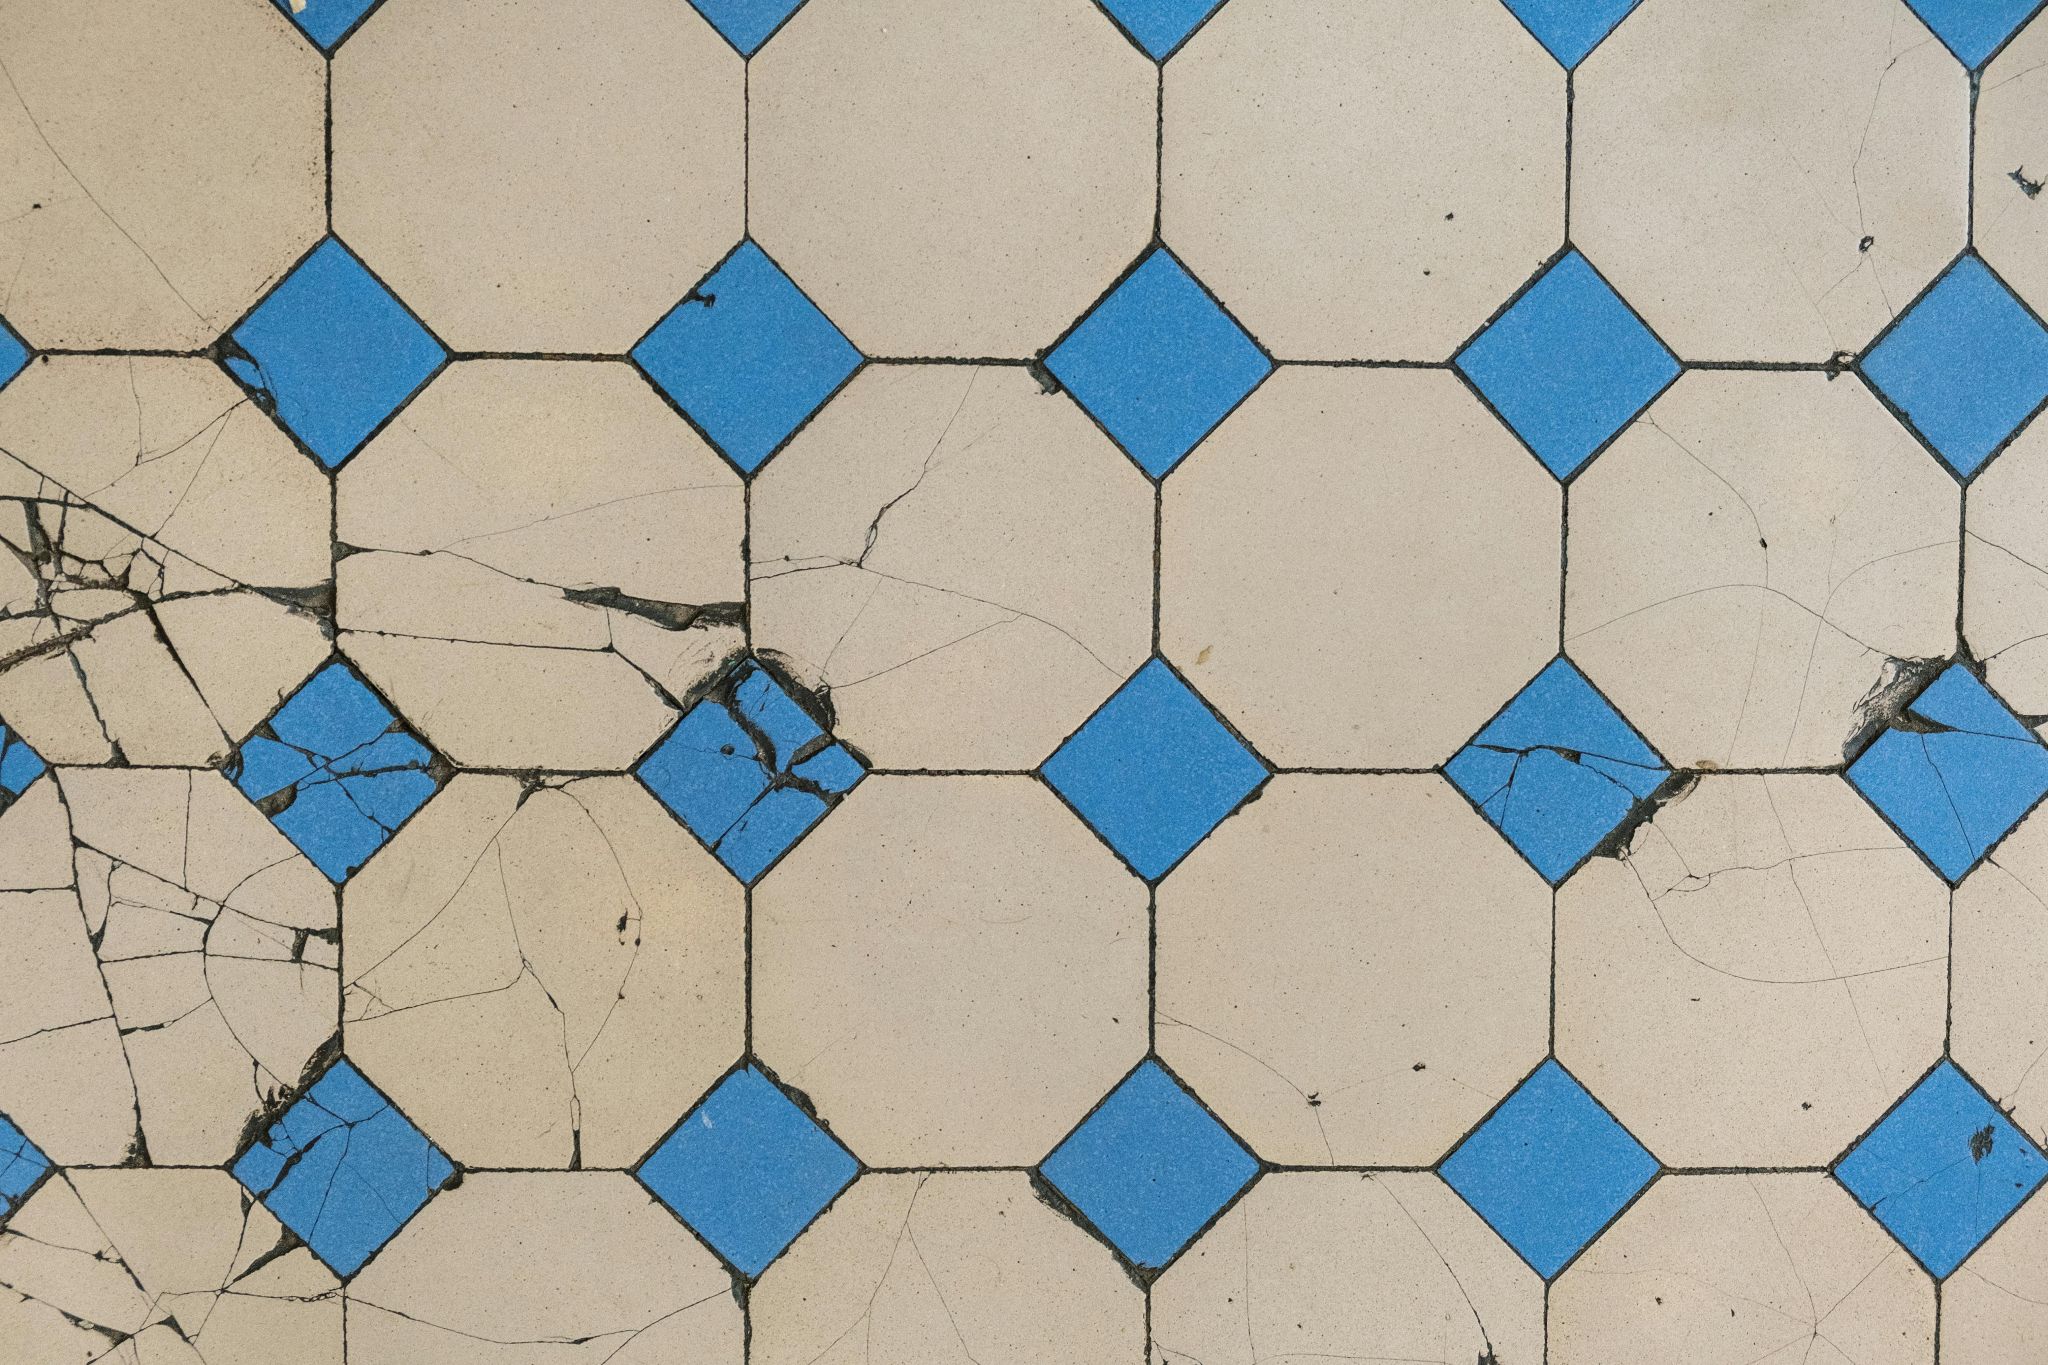
Cracks or Chips
Tiles that have visible cracks or chips can be unsightly and may also lead to further damage. A small crack may not seem like a big issue, but over time, it can widen, allowing water to seep beneath the tile and potentially cause mold growth or floor damage. If the crack is deep or widespread, it’s best to replace the tile before the issue worsens.
Loose Tiles
If tiles have become loose or are shifting, it's a clear sign that the adhesive beneath them is no longer secure. Loose tiles can be a tripping hazard and may cause further damage to the subfloor. Replacing these tiles will restore the stability and safety of your floors.
Discoloration or Stains
Tiles that are severely stained or discolored can affect the overall look of the room. While some stains can be cleaned, others, particularly those that have seeped into the grout or tile surface, may be beyond repair. In such cases, replacing the damaged tiles can help rejuvenate the space.
Water Damage
Water can cause tiles, especially those in areas like bathrooms and kitchens, to warp, crack, or become loose. If your tile floors or walls have been exposed to excessive moisture, it’s crucial to replace the damaged tiles to avoid further deterioration.
How to Replace Damaged Tiles
Once you've identified the damaged tiles, it’s time to replace them. For a better property repair, ensure to engage a professional if you're unsure about the process or if the damage is extensive. They can provide the expertise needed to achieve a high-quality result.
For the DIY process, you can follow these steps for a smooth replacement process:
Gather Materials
You will need a replacement tile, grout, adhesive, a tile cutter, a trowel, a grout float, a sponge, and a utility knife. If you’re unsure of the tile size or pattern, try to find an exact match to ensure a seamless look.
Remove the Damaged Tile
Begin by using a utility knife to cut away any grout surrounding the damaged tile. You can also use a chisel and hammer to gently pry the tile away from the surface. Be careful not to damage the surrounding tiles. If the tile is particularly stubborn, you may need to remove it in pieces.
Prepare the Surface
Once the damaged tile is removed, clean the area thoroughly to ensure there is no debris or old adhesive left. If the surface is uneven, use a leveling compound to smooth it out. Allow it to dry completely before proceeding.
Install the New Tile
Apply adhesive to the back of the replacement tile using a notched trowel, then press the tile firmly into place. Make sure the tile is level with the surrounding tiles. Allow the adhesive to set according to the manufacturer’s instructions.
Grout the Tile
Once the adhesive has dried, apply grout around the edges of the new tile using a grout float. Wipe away excess grout with a damp sponge, making sure the grout lines are clean and even.
Let it Dry
Allow the grout to cure for at least 24 hours before using the area again. This ensures that the tile is securely in place and the grout is fully set.

Replacing damaged tiles in your home is a manageable DIY project that can significantly improve the look and function of your space. By addressing issues like cracks, chips, or discoloration promptly, you can prevent further damage and maintain a safe, aesthetically pleasing environment. Whether you’re replacing one tile or several, following the right steps ensures a successful repair that can restore your home’s beauty and durability.